You will learn to choose high-quality sushi rice, wash it correctly, maintain accurate water ratio, and steam gently; pay attention to rice quality, avoid the risk of bacteria due to improper storage and enjoy perfect taste.
Key Takeaways:
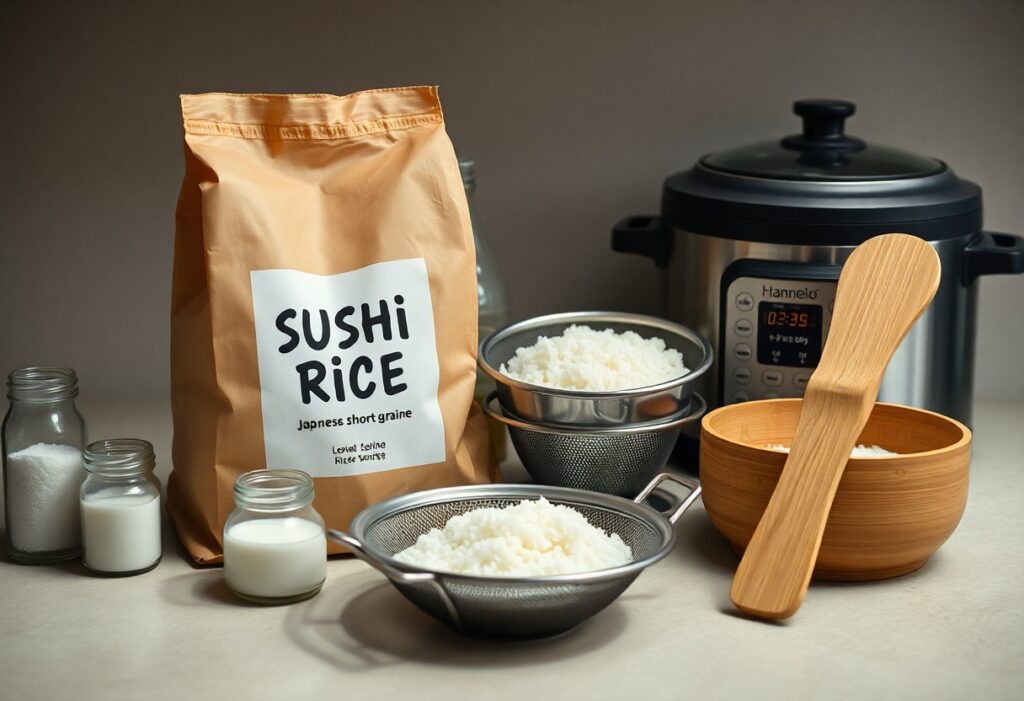
- Choose & prepare rice: Buy short-grain or short-grain sushi rice, wash several times until the water runs clear and soak for 30-60 minutes.
- Cook properly & let it rest: Water ratio about 1:1 (adjust slightly depending on the type of rice), cook in the rice cooker or pot and let it rest for 10-15 minutes after cooking with the lid closed.
- Incorporate sushi vinegar & cool: Heat the rice vinegar with sugar and salt, carefully fold into the warm rice, cool with a fan and cover with a damp cloth.
Sushi Rice Basics – The Most Important Steps from Shopping to Cooking
Throw the thought of cheap supermarket rice overboard immediately. They are looking for real shari, short-grain short-grain rice that has enough strength to tell a story.
First, ditch the thought of cheap supermarket rice and choose short-grain short-grain rice (shari) instead, as its strength provides the necessary stickiness and binding.
In addition, pay attention to the variety and harvest year; fresh rice with a clear origin shows the best aroma and texture needed for perfectly malleable rice balls.
Quality is not a point of negotiation. If the package does not come from Japan or specialized growing areas, it is not sushi rice, but only a side dish.
Only trust packages with clearly declared origin from Japan or known growing regions; everything else does not provide the typical consistency and is more of a side dish than Shari.
Avoid products without milling/harvesting information or with vague marketing promises; such rice packs often hide a lack of freshness or unsuitable varieties.
When buying, check the packaging for moisture and damage, store the rice at home in a cool and dry place and carry out a short test cooking to confirm stickiness and bite.
The Purification of the Mind
Precision is crucial here: you don’t clean the rice out of ritual, but to remove starch and dirt; wash until the water runs clear. If you have any questions, use the Sushi Rice Cooking Guide | Takori for exact times and conditions.
Washing is not a polite rinse, but a necessity. Grate the grains together until the water is as clear as an honest cook’s intentions.
Gently rub the grains in the water, tilt several times and repeat until there is no more cloudiness; not just a quick rinse, but consistent rinsing ensures the right texture and prevents a sticky or rubbery result.
After that, let the rice rest for at least thirty minutes. He has to soak up the moisture before he feels the fire, otherwise the core will remain hard as stone.
After that, cover the rice and let it steep at room temperature; at least thirty minutes are mandatory so that the grains swell evenly and later cook without remaining raw inside.
You should also make sure that the water is completely absorbed and that the pot remains closed; Extend the rest period for older rice, as it often needs more time to swell before starting the cooking program.
The Alchemy of Fire
The ratio of water to rice is a sacred law. Too much water creates mud, too little leads to a culinary disaster.
Precision in weighing is decisive: for 1 part rice, 1.1-1.2 parts water are usually enough for sushi rice. If you’re unsure, follow a tried and tested guide: How to make sushi yourself | Recipe guide for beginners. Keep the ratio constant.
Carefully wash the rice until the water runs clear; this reduces starch and prevents mud. Then let it soak for 20-30 minutes so that the water is absorbed evenly .
As soon as the lid is on, it stays on. Anyone who looks into it curiously and lets the steam escape has lost respect for the craft.
Avoid opening it while cooking; when you lift the lid, escaping steam costs heat and destroys the structure. Keep the lid closed so that the rice finishes cooking in the closed system.
Give the freshly cooked pot at least ten minutes to rest so that the grains settle and the texture stabilizes; only then ventilate carefully to avoid burns from steam .
When airing, make sure to fluff the rice with a wooden spatula or rice spoon and season it immediately with sushi vinegar; this gives you shine and the typical stickiness.
The acidity of truth
Make sure that the acidity emphasizes the graininess of the rice and does not mask it; For exact conditions, read the recipe here: Cooking sushi rice: basic recipe & tips for perfect rice.
Control the temperature of the wort: warm seasoning mixture dissolves sugar better, preparation too cold leads to lumpy, hard-to-spread rice.
The seasoning mixture of rice vinegar, sugar and salt is the soul of the whole. It must revive the grain without suffocating its own taste.
Mix rice vinegar, sugar and salt precisely; too much vinegar destroys balance, too little leaves a pale taste. You should taste and adjust gradually.
Use a wooden hangiri and carefully cut in the seasoning. Anyone who stirs destroys the structure and ends up with a sad lump.
Use a wooden hangiri and a wooden spatula; cut in the wort with quick, flat motions to keep the grains separate and maintain structure .
Gentle fanning when lifting underneath takes care of shine and cooling; Do not stir is crucial, otherwise the rice will clump together despite the correct seasoning.
The final refinement
Finally, pay attention to the balance of acidity, moisture and temperature so that the rice retains its texture. Check the graininess, because rice that is too moist or too dry will destroy the result and reduce the quality.
Wave a fan of air to the rice as you flip it. This shine is not a coincidence, but the result of sweat and proper cooling.
You should gently turn the rice with a wooden spatula and cool it evenly with a fan to achieve the desired shine . The visible shine is caused by the aforementioned sweat and the right cooling, not by oil.
Never serve the rice ice cold. It has to retain the warmth of life, for example at body temperature, in order to melt on the tongue.
Keep in mind that rice looks aromatically flat when the temperature is too cold ; aim for about body temperature so that it melts on your tongue. Never serve ice cold, otherwise consistency and taste will suffer.
Practically, before serving, keep the rice covered under a slightly damp cloth so that it stays warm without overheating; too much heat dries it out and destroys the texture.
Sushi Rice Basics – The Most Important Steps from Shopping to Cooking
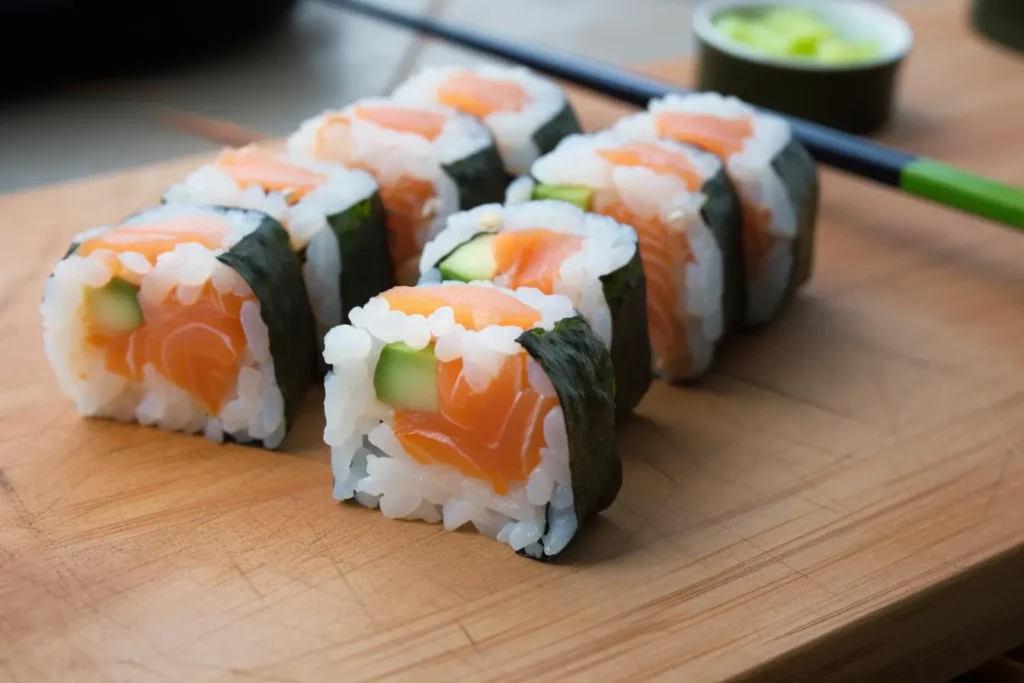
You buy short-grain sushi rice, wash it until the water runs clear, and let it soak for 20-30 minutes. Cook it in a rice cooker or pot with a slight excess of water, steam for 10-15 minutes without a lid. Season the hot rice with sushi vinegar, fan it to shine and let it cool to body temperature – this way you achieve perfect consistency.
FAQ
Q: What type of rice should I buy for sushi?
A: For sushi, use short to medium-grain japonica rice (often labeled as “sushi rice” or “koshihikari”, “sasanishiki”, etc.). These rice varieties have a high starch content and stick together well during cooking. Look for fresh goods (no stale, discolored grain) and the packaging information “short-grain” or “sushi/maki rice”. Extras: For authentic taste, many prefer Japanese brands; for vegans/allergy sufferers, check that it does not contain any additive (e.g. glutamate).
Q: How much rice should I buy and how do I measure correctly?
A: Standard serving: 90-120 g of paddy rice per person (yields about 180-250 g of cooked rice). Measurement: 1 Japanese rice bowl = 180 ml of paddy rice (often indicated on packages). For recipes in grams: e.g. 300 g of paddy rice for 3-4 people. Tip: Buy in small batches (3-5 kg) if you do frequently to ensure freshness.
Q: How to wash and soak sushi rice properly?
A: Washing steps: 1) Put the rice in a bowl, cover with cold water. 2) Gently circle with your hand, drain water (cloudy). 3) Repeat process 4-6× until the water is much clearer, but not crystal clear. Soaking: After washing, let rice rest for 20-30 minutes (up to 60 minutes in a cool environment) in a pot or container with the amount of water boiling. Purpose: Water is absorbed evenly, grains swell, even cooking and better texture.
Q: What is the water ratio and cooking times for the rice cooker and stove?
A: Rice cooker: Typical 1:1 to 1:1.1 (rice:water) in terms of volume for short-grain sushi rice; many rice cookers have markings or automatic program-soaking as recommended above. Stove (pot): After soaking about 1:1.05-1.15 (depending on the rice freshness and pot). Stove procedure: 1) Bring to a boil over medium-high heat. 2) Once boiling, reduce heat to very low and steam for 12-15 minutes (do not open). 3) Turn off the stove, let it rest for 10-15 minutes with the lid closed. Check the result: Grains should be slightly sticky on the outside and cooked through on the inside. If the core is too hard, increase the water slightly (2-3%), if the water is too mushy, reduce the water.
Q: How to prepare the sushi seasoning mix (sushi-zu), how to mix and store the finished rice?
A: Sushi-to-(classic) ratio Examples: a) Quick rule of thumb: per 300-360 g of cooked rice, → 4 tablespoons of rice vinegar, 2 tablespoons of sugar, 1 teaspoon of salt. b) Traditional approach (to taste): rice vinegar : sugar : salt ≈ 5 : 2 : 1 (weight ratio). Preparation: Heat the vinegar, sugar and salt slightly in a saucepan, dissolve only until the sugar/salt dissolves (do not boil), leave to cool. Add mixture to hot rice: Place rice in a shallow wooden bowl (hangiri) or large bowl, drizzle vinegar mixture evenly over rice. “Cut” with a wooden spatula (shamoji) in cutting movements and lift the curl, do not stir so as not to crush the grains. At the same time, cool with a fan or hand to create shine and reduce vinegar odor. Serving temperature: lukewarm to room temperature. Storage: Store finished sushi rice uncovered in the refrigerator (loses texture and hardens); if leftovers, briefly steam/warm up or in a tight container for a maximum of 24 hours at 4 °C, then use steam/gentle heat again. For best quality: prepare fresh and use quickly.