The Japanese culinary art is a combination of taste, texture and aesthetics, especially in the world of sushi. But to master sushi, you don’t just need to have access to a rice cooker. In fact, the preparation of sushi impeccable sushi rice can be achieved even without a rice cooker. The trick is in the measurement, the time, and the attention to detail. The same goes for slicing fish and vegetables, a fine technique that ensures that each ingredient contributes its unique flavor and texture. And of course, a skillful presentation is the icing on the cake in providing an immersive sushi experience.
Preparation of sushi rice
The world-conscious trendsetter knows that a delicious Japanese feast doesn’t just depend on the aromatic soy sauces, fresh fish or crunchy vegetables. Yes, dear readers, the key to an authentic sushi experience is in the rice. And when the sushi hunger nerve beats for the first time and you don’t have a rice cooker on site, you’re not at a loss. Here’s an infallible guide on how to make sushi rice without a rice cooker, as art and deliciousness don’t require specific tools.
Step 1: The right selection and measurement
It’s the raw material that makes the difference. Buy a medium-grain Japanese rice or, better yet, a special sushi rice. You’ll need about one cup of rice per two sushi rolls – adjust that depending on the number of hungry palates you need to feed!
Step 2: Cleaning and soaking
This step is indispensable. Rinse the rice in a colander under cold water until the water runs clear. Removing the excess starch ensures perfect consistency. After that, place the rice in a large enough bowl for 30 minutes and let it swell.
Step 3: Cooking
Place the soaked rice in a large saucepan, add water – about 1.5 times the amount of rice. Bring the water to a boil over medium heat. Then reduce the heat to low and let it simmer for 10 minutes. Keep your curiosity, do not open the lid while cooking!
Step 4: Steam
After cooking, leave the rice with the lid on the pot for another 15 minutes. This resting time allows the rice to absorb all the moisture and achieve the perfect sticky consistency.
Step 5: Season to taste
Finally, sprinkle a mixture of rice vinegar, sugar, and salt over the hot rice. Then stir to make sure each grit is soaked with the flavor. And there you have it – your sushi rice is ready to be rolled and enjoyed.
Because the trend in the kitchen, dear readers, does not revolve around strict rules or complicated appliances. It’s all about working with what you have, and with a little creativity and skill, anyone can create gourmet moments that will be remembered.
And this is how you prepare sushi rice without a rice cooker. There is no glamour without patience! This, my dear sushi lovers, is just the beginning of a delicious sushi experience that starts in your kitchen and ends in your mouth. Enjoy your meal!

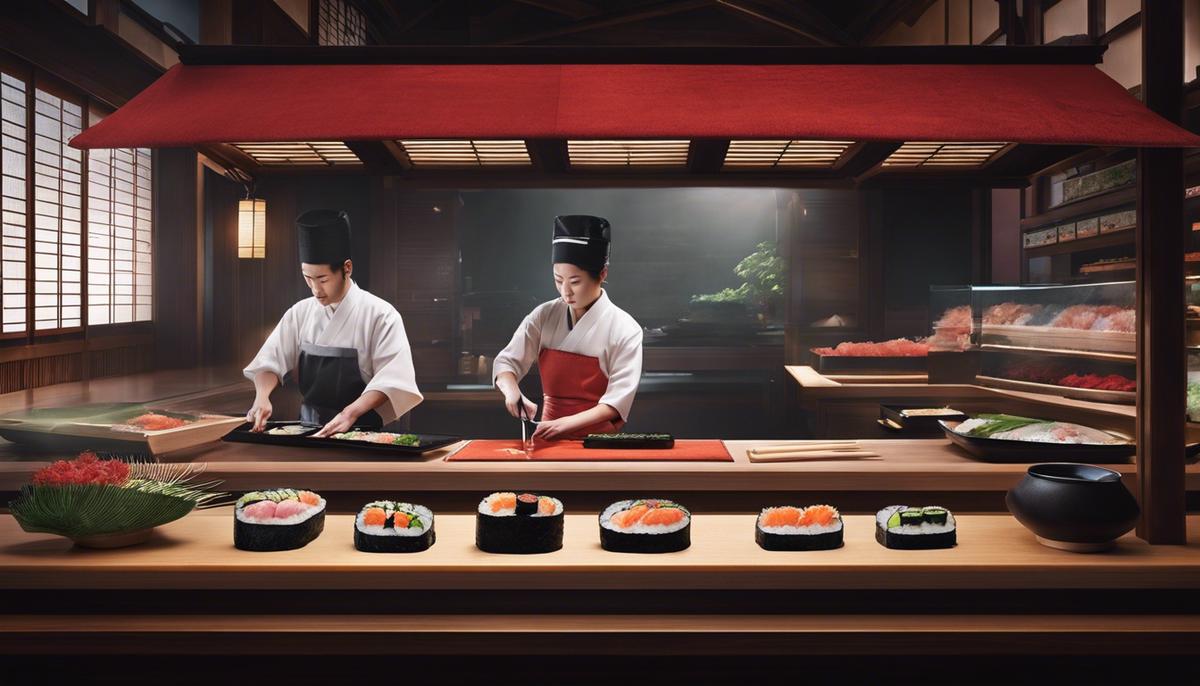
Cut fish and vegetables
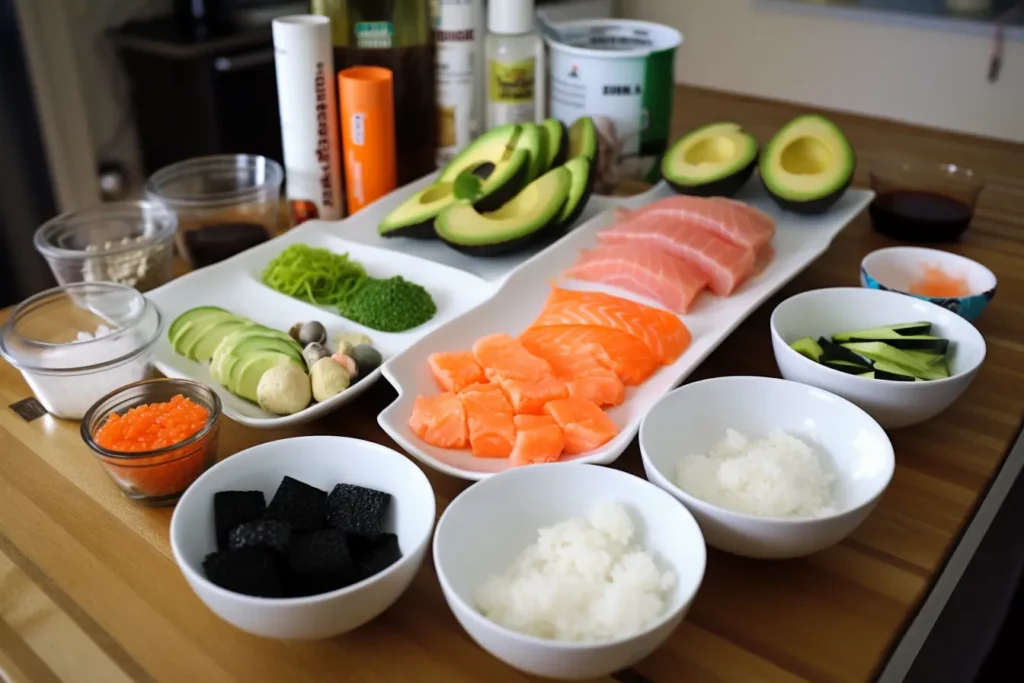
Let’s start with the most important ingredient besides rice: fish. The finest choice for the perfect sushi is, of course, fresh, raw fish. Your fish should be of the highest quality to preserve the delicate flavor and texture that defines sushi. Some of the most well-known and popular types of fish for sushi are tuna, salmon, eel, sole, and shrimp. However, depending on your preference, virtually any variety can be used, as long as it is fresh and well-treated.
Cut the fish depending on the type of sushi. For nigiri sushi, cut the fish into thin slices. The grain size of the fish should be perpendicular to the cut. For maki sushi, the fish should be cut into long, thin strips.
Now for the vegetables. When it comes to vegetables, the trick is in creativity and color choice. Colored vegetables such as radish, carrots, and avocado can add life and variety to sushi. For cutting vegetables for sushi, we use similar techniques as for fish. The vegetables should be cut into thin strips or julianne, as it is called in technical jargon. The right knife technique is essential here, but you should also not cut the vegetables too thinly so that they retain their flavor and crunchy texture.
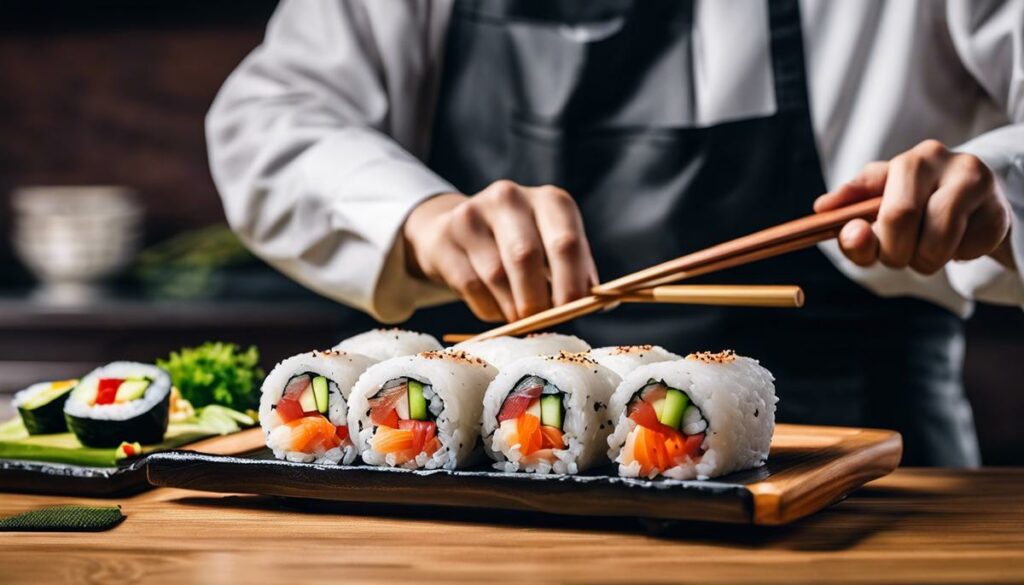
In general, slicing for making sushi is an art form in itself. The use of a sharp, well-maintained knife is very important. Make the effort to sharpen your knife before cutting, as this will help you avoid unsightly cracks and tears in your precious fish or vegetables.
The key word when preparing sushi ingredients is respect. Respect both the ingredients and the result. The true art of sushi lies in the careful preparation and presentation of each individual roll. So make every cut count and enjoy the process.
Now you’re one step closer to creating the perfect sushi at home. You might even discover your own unique version of this timeless Japanese dish. And the enjoyment – from the first bite to the last – will definitely reward your effort and creativity.
Have fun creating!
Sushi Rolls and Serving
In the multifaceted world of sushi, rice and ingredients play a critical role. Their quality and preparation make the difference between a bad sushi experience and an exceptional one. But now let’s take a look at how to roll and serve sushi correctly – because here every step has its own place!
The selection and preparation of the types of fish can be an art in itself. Whether it’s salmon, tuna or eel, freshness is the name of the game here. High-quality fish caught on the same day holds the true taste of sushi – pure, mild and delicate. But it’s not just about choosing the right fish, it’s also about cutting the fish correctly. This technique requires skill and practice. Whether it’s nigiri or maki, each species has its own cutting technique. It is important to always use a sharp knife to ensure a clean and precise cut.
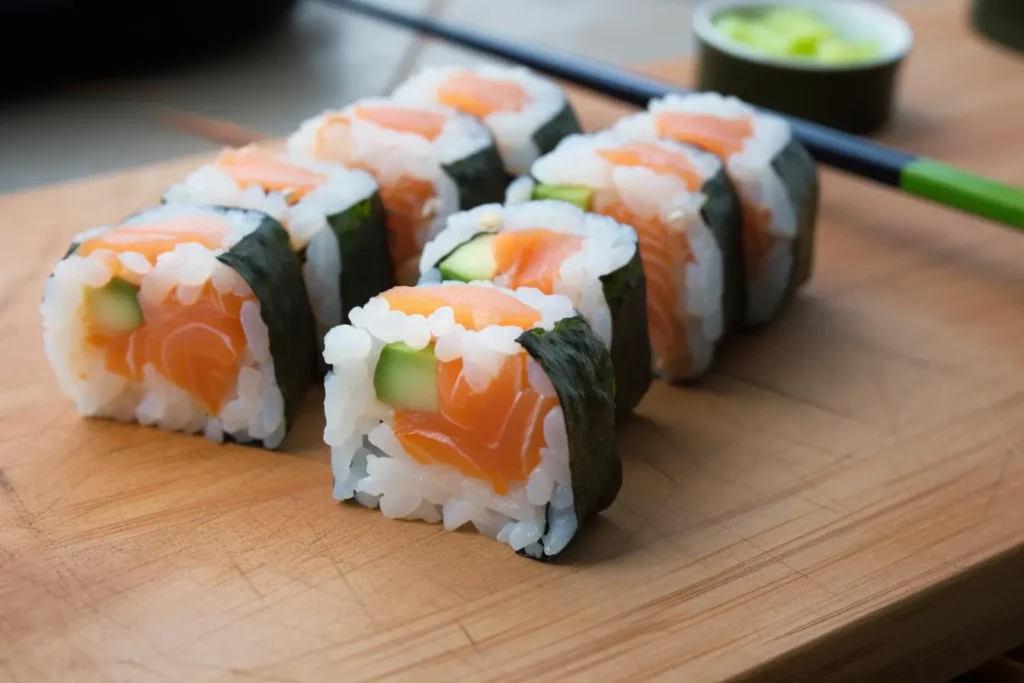
Now that the ingredients are prepared, let’s get to the heart of any sushi – the rolling. Start with a bamboo mat and a nori sheet. Moisten your hands, place a thin layer of rice on top of the nori sheet and place the ingredients in the center. Then, using the bamboo mat, roll the sushi into a tight roll.
Once your sushi is in the perfect roll, it’s time to cut it. With a quick, fluid motion, cut the sushi roll into bite-sized pieces. It is important to use a very sharp knife to prevent the roll from crushing or disintegrating.
The art of sushi preparation and serving lies in fine-tuning texture, flavor, and aesthetics, because sushi is ultimately a delicious balance between these things. But it’s also about respect for the ingredients and the process – this appreciation is evident in every hand-rolled piece of sushi. And of course, who says making sushi can’t be fun? It’s a
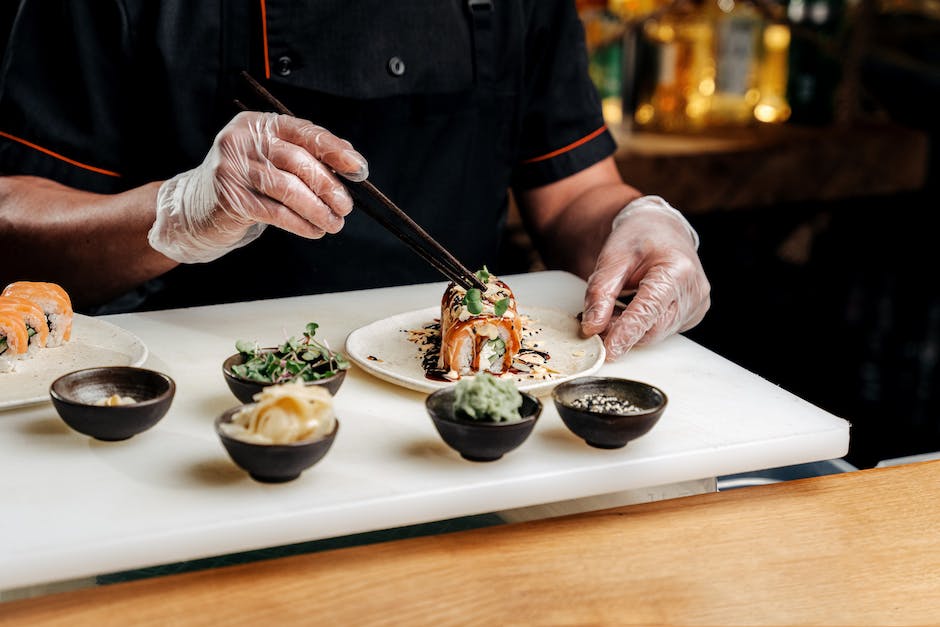
Last but not least, the art of rolling and serving sushi involves more than just technical skill, it also requires an artistic touch and creativity. Presenting sushi is what appeals to the eye and creates the first impression. Different serving options can add different moods and aesthetics to your sushi, which can make the difference between good sushi and great sushi. With these skills under your belt, you’ll be well-equipped to make your own delicious sushi at home, even without a rice cooker!